BMW E36 OBD-1 M50 Manifold Swap
If you are looking for more power out of your BMW 96-99 M3 or a 328 this is probably the best modification you can do for very little money. Some people reported a 20hp gain from swapping to an OBD-1 manifold. People claim a torque loss under 4K rpm but I have noticed nothing but gains all across the rev range. The car is absolutely transformed, the engine feels more natural than before pulling hard all the way to the redline. This article should give you a pretty good idea of what is involved in swapping the manifold and all the parts necessary for the swap.
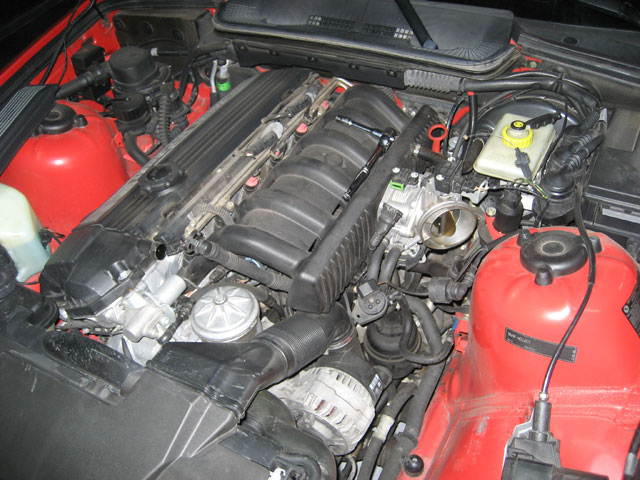
Removed the intake boot

Removed the throttle body

Unbolted the oil dipstick tube
To get started, remove the fuel injector cover, unplug the O2 sensors, unbolt the fuel rail and carefully pry the injectors together with the fuel rail out of the manifold. Next, remove your air box, intake boot and MAF. Carefully unclip the ASC+T throttle cable from the secondary throttle body. Remove your alternator cooling duct and unplug the throttle position sensor as well as the purge valve (on some earlier cars the purge valve is mounted to the shock tower so just leave it alone). Unbolt your throttle body and lay it to the side. Now unbolt the bracket that holds the idle control valve and the oil dipstick tube. Pop the idle control valve out of the manifold, unbolt your oil separator and start unbolting the intake manifold.
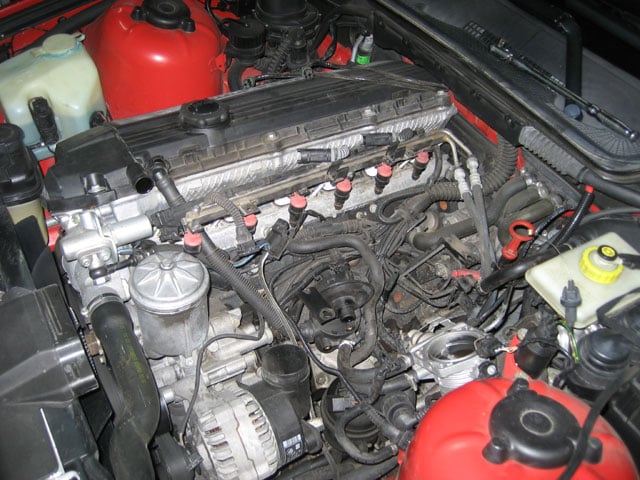
Intake manifold removed

Comparison of OBD1 and OBD2 wring harness brackets.
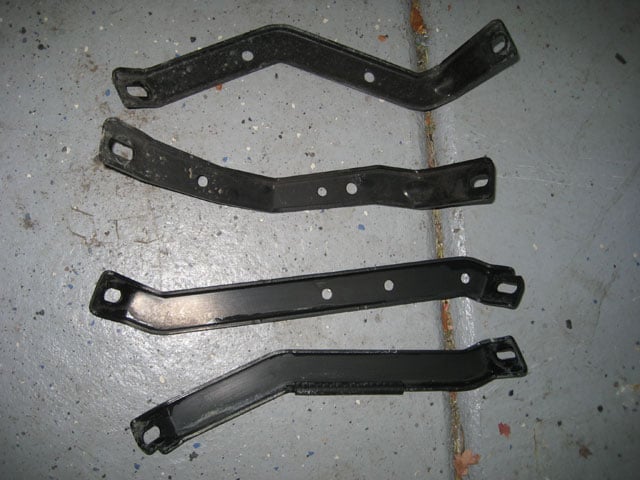
Comparison of the manifold support bracekts.
Once the manifold is out of the way cut the zip ties that hold the wiring harness to the bracket on the engine block. Remove the bracket and install an OBD-I bracket part number 12-52-1-724-264 in its place. OBD-I bracket will need to be slightly modified. A hole at the bottom of it will need to be enlarged to 8mm and at the top it will need to be bent slightly to clear the bracket near the back of the engine. You will also have to loosen the front knock sensor and turn it slightly to clear the bracket. Make sure you torque the knock sensor back to specs. Once the OBD-I bracket is installed start attaching the wiring harness to it with zip ties. The reason I used an OBD-I bracket is because it has a holder for the idle control valve on it.
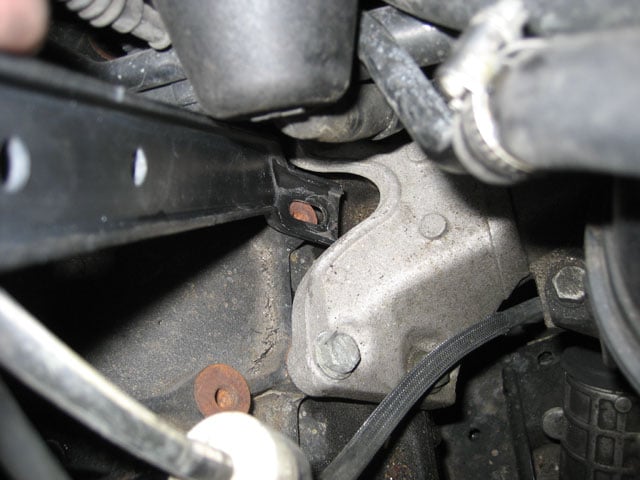
In this picture you see where the one of the new manifold support brackets mounts, directly to the block
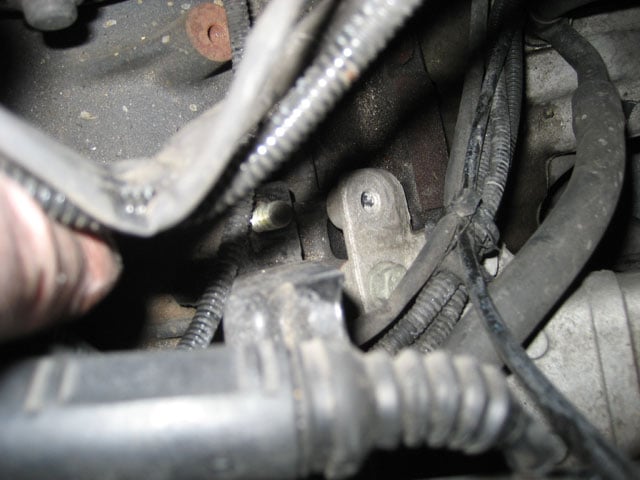
Here is where the other bracket mounts.

Both support brackets and the wiring harness bracket are mounted to the engine.
Bolt up two OBD-I manifold brackets to your block. Part numbers for the brackets are 11-61-1-735-265 and 11-61-1-738-759. Please note how the new brackets mount to different locations on the block. Front bracket mounts to a threaded hole in the block right behind the engine mount and the rear bracket mounts to an engine mount itself.
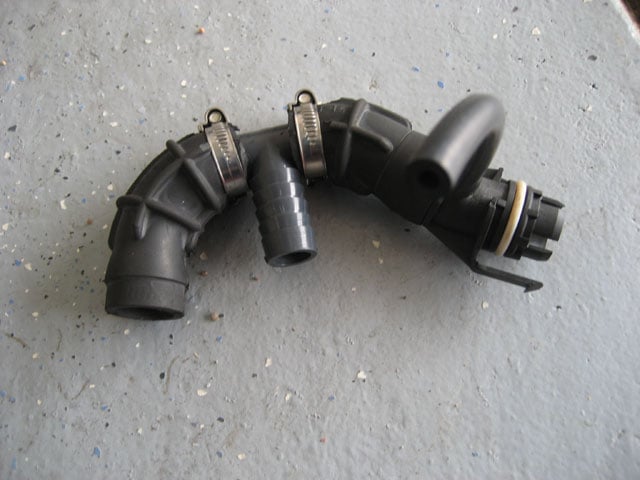
New ICV Hose
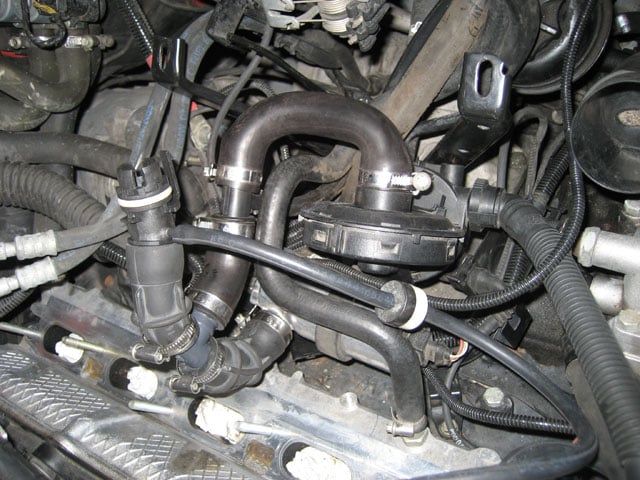
ICV and PCV hose routing

Purge valve connected to a T-fitting.
Now it is time to sort out all of the hoses. I cut a slice out of an OBD-I hose 13-41-1-738-185, trimmed the ridges and installed a T-fitting into it. Your oil separator and purge valve hose will connect to this vacuum source. The air pump control valve hose will connect directly to the connector 11-61-1-738-929 that clips into the back of the manifold. To connect the oil separator to the T-fitting I used an idle control valve hose 13-41-1-435-781. This hose is the one that connects the idle control valve to the throttle body boot on OBD-II cars, I simply cut it into several sections. You will also need to install another T-fitting into it for your purge valve hose. I used a fitting part number 64-11-8-367-832. To connect the ICV to the air intake boot use hose part number 13-54-1-703-786.
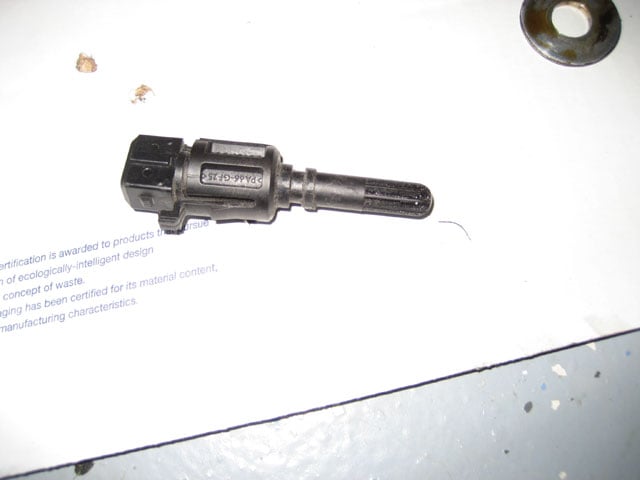
Intake temp sensor modified
Before you install the new intake manifold you need to modify your intake temp sensor and install it into the manifold. To make the temp sensor fit you need to file it down a bit, just enough for it to screw into the threaded hole in the manifold. Be careful not to file it down too much or it won’t stay in place well.


Modified bracket for the oil dipstick tube.
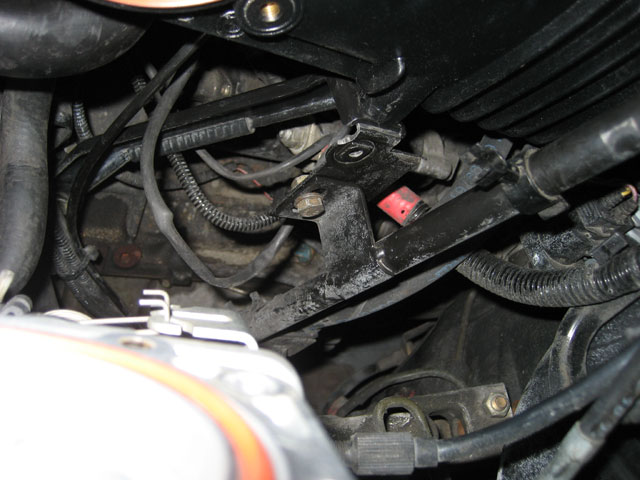
Modified bracket bolted on to the oil dipstick tube
Now you can finally install your M50 manifold. Bolt everything up, make sure you use new intake manifold gaskets. To make the throttle body seal you will need to fabricate an aluminum plate and use two throttle body seals instead of one (one in the manifold and one in the throttle body). I modified a bracket that held the ICV in place to hold the oil dipstick tube, simply cut one end of it and drill a new hole.
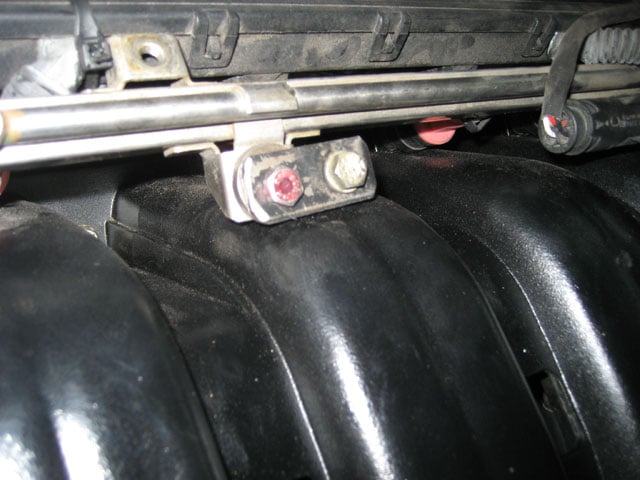
Supporting the fuel rail
Once the manifold is on the engine it is time to reinstall your fuel injectors. The rear tab that used to hold an O-2 sensor connector will need to be bent out of the way to clear a fuel rail mounting point on M50 manifold. A bracket will need to be fabricated to hold the fuel rail in place. I simply used some piece of scrap metal I found in my toolbox and drilled two holes in it. You will also notice how the fuel rail sits lower than it should so use a spacer 11-12-1-721-734 or equivalent to space the bracket up on both of the mounting points.
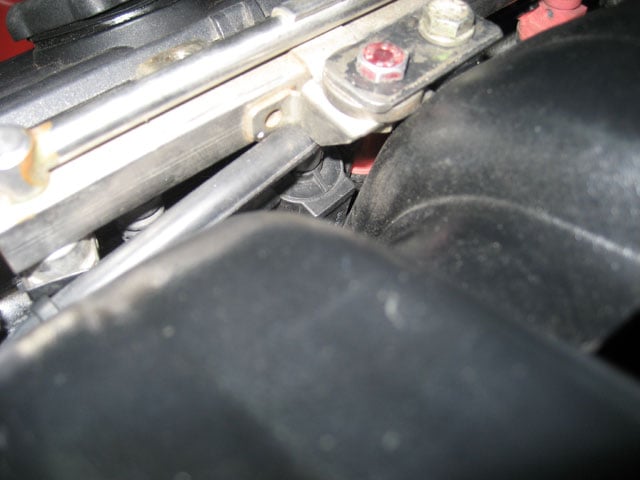
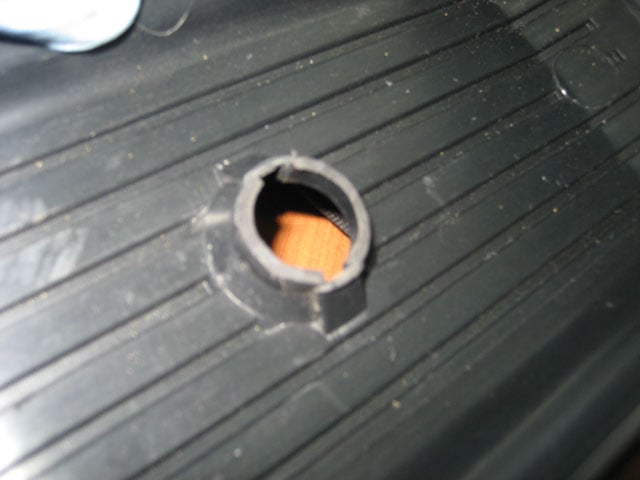
Modification to the fuel injector cover
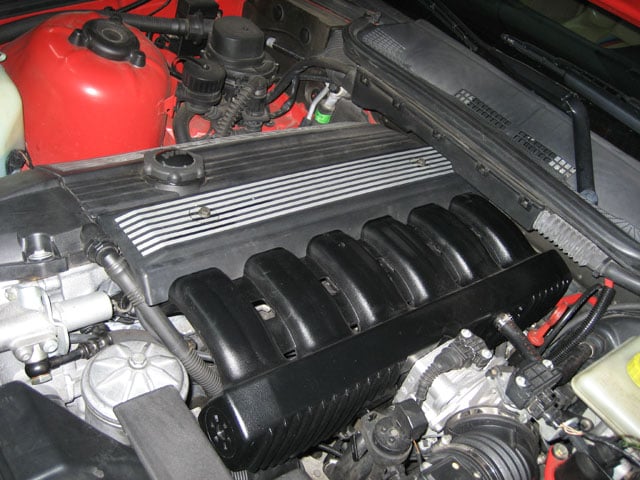
I mounted the air pump vacuum solenoid valve under the fuel rail in order to be able to install an OBD-I fuel injector cover. The cover will need to be modified or it will sit too high. Simply cut the threaded part off and use two bolts through the decorative bolt covers to hold it in place.
Enjoy your new car, it will really feel that way for a while until you get used to the power and want more. It never stops, does it?